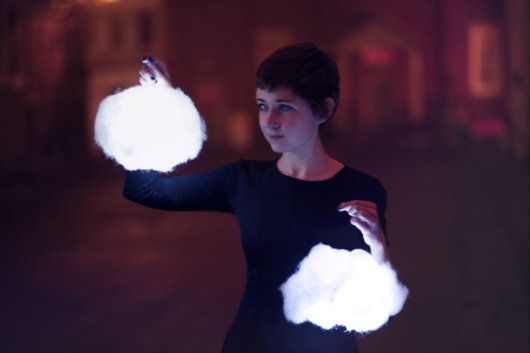
I'm not much of a home DIYer, but I’ve wanted cloud lanterns for my room since I saw a photographer on Flickr posing with one. I couldn’t find any tutorials on how to make them so I just went about it in the most logical way I could using some of the crafty supplies I already had around the house. There really aren’t too many steps since I started with a ready-made paper lantern and basically just had to add the “cloudy” elements to achieve the effect I wanted. What you’ll need:
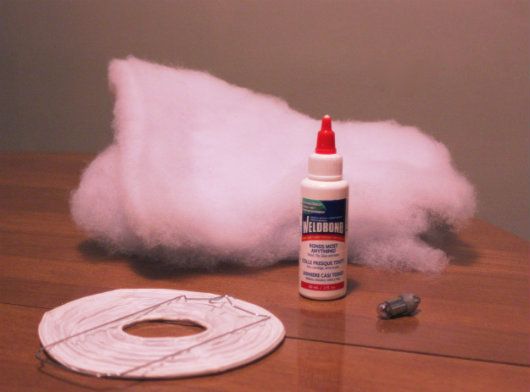
-paper lantern(s)
-craft glue
-cotton batting
-light source: candles, or LED lights
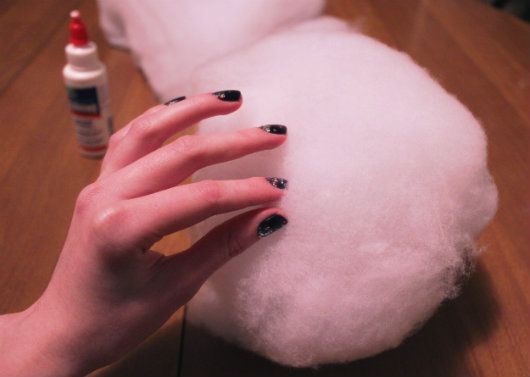
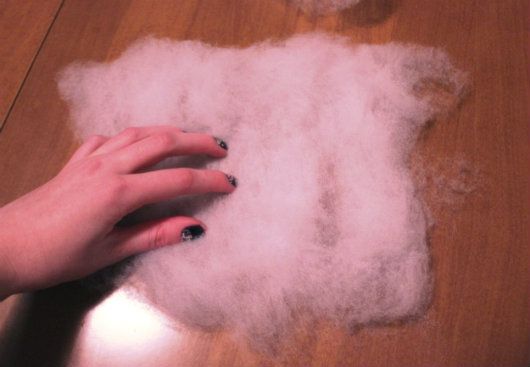
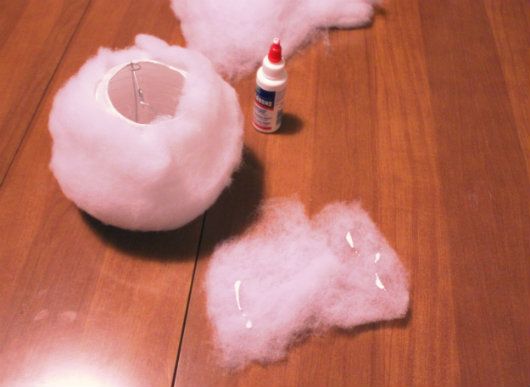
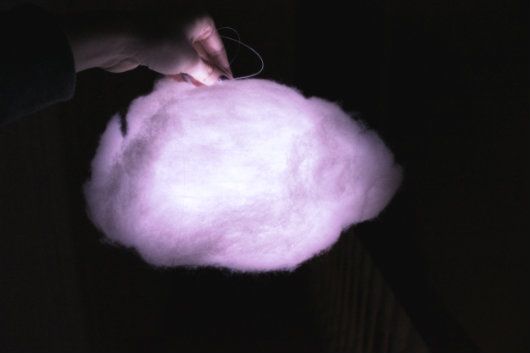
The assemblage is fairly straightforward: apply thin layer of glue all over lantern and then press thin layer of cotton batting all over, hold and let dry. At this stage it looks like a snowball. Once the glue has set (30 minutes to an hour) use dabs of glue to add extra layers and bulky spots to make it look more cloud-like; you can pinch and pull your cotton batting to make it uneven and fluffy. Again, allow it to dry then insert your LED light or candle and you’re done! If I do this project again I might switch the craft glue with hot glue sticks, but I already had the craft glue on hand.





No comments:
Post a Comment